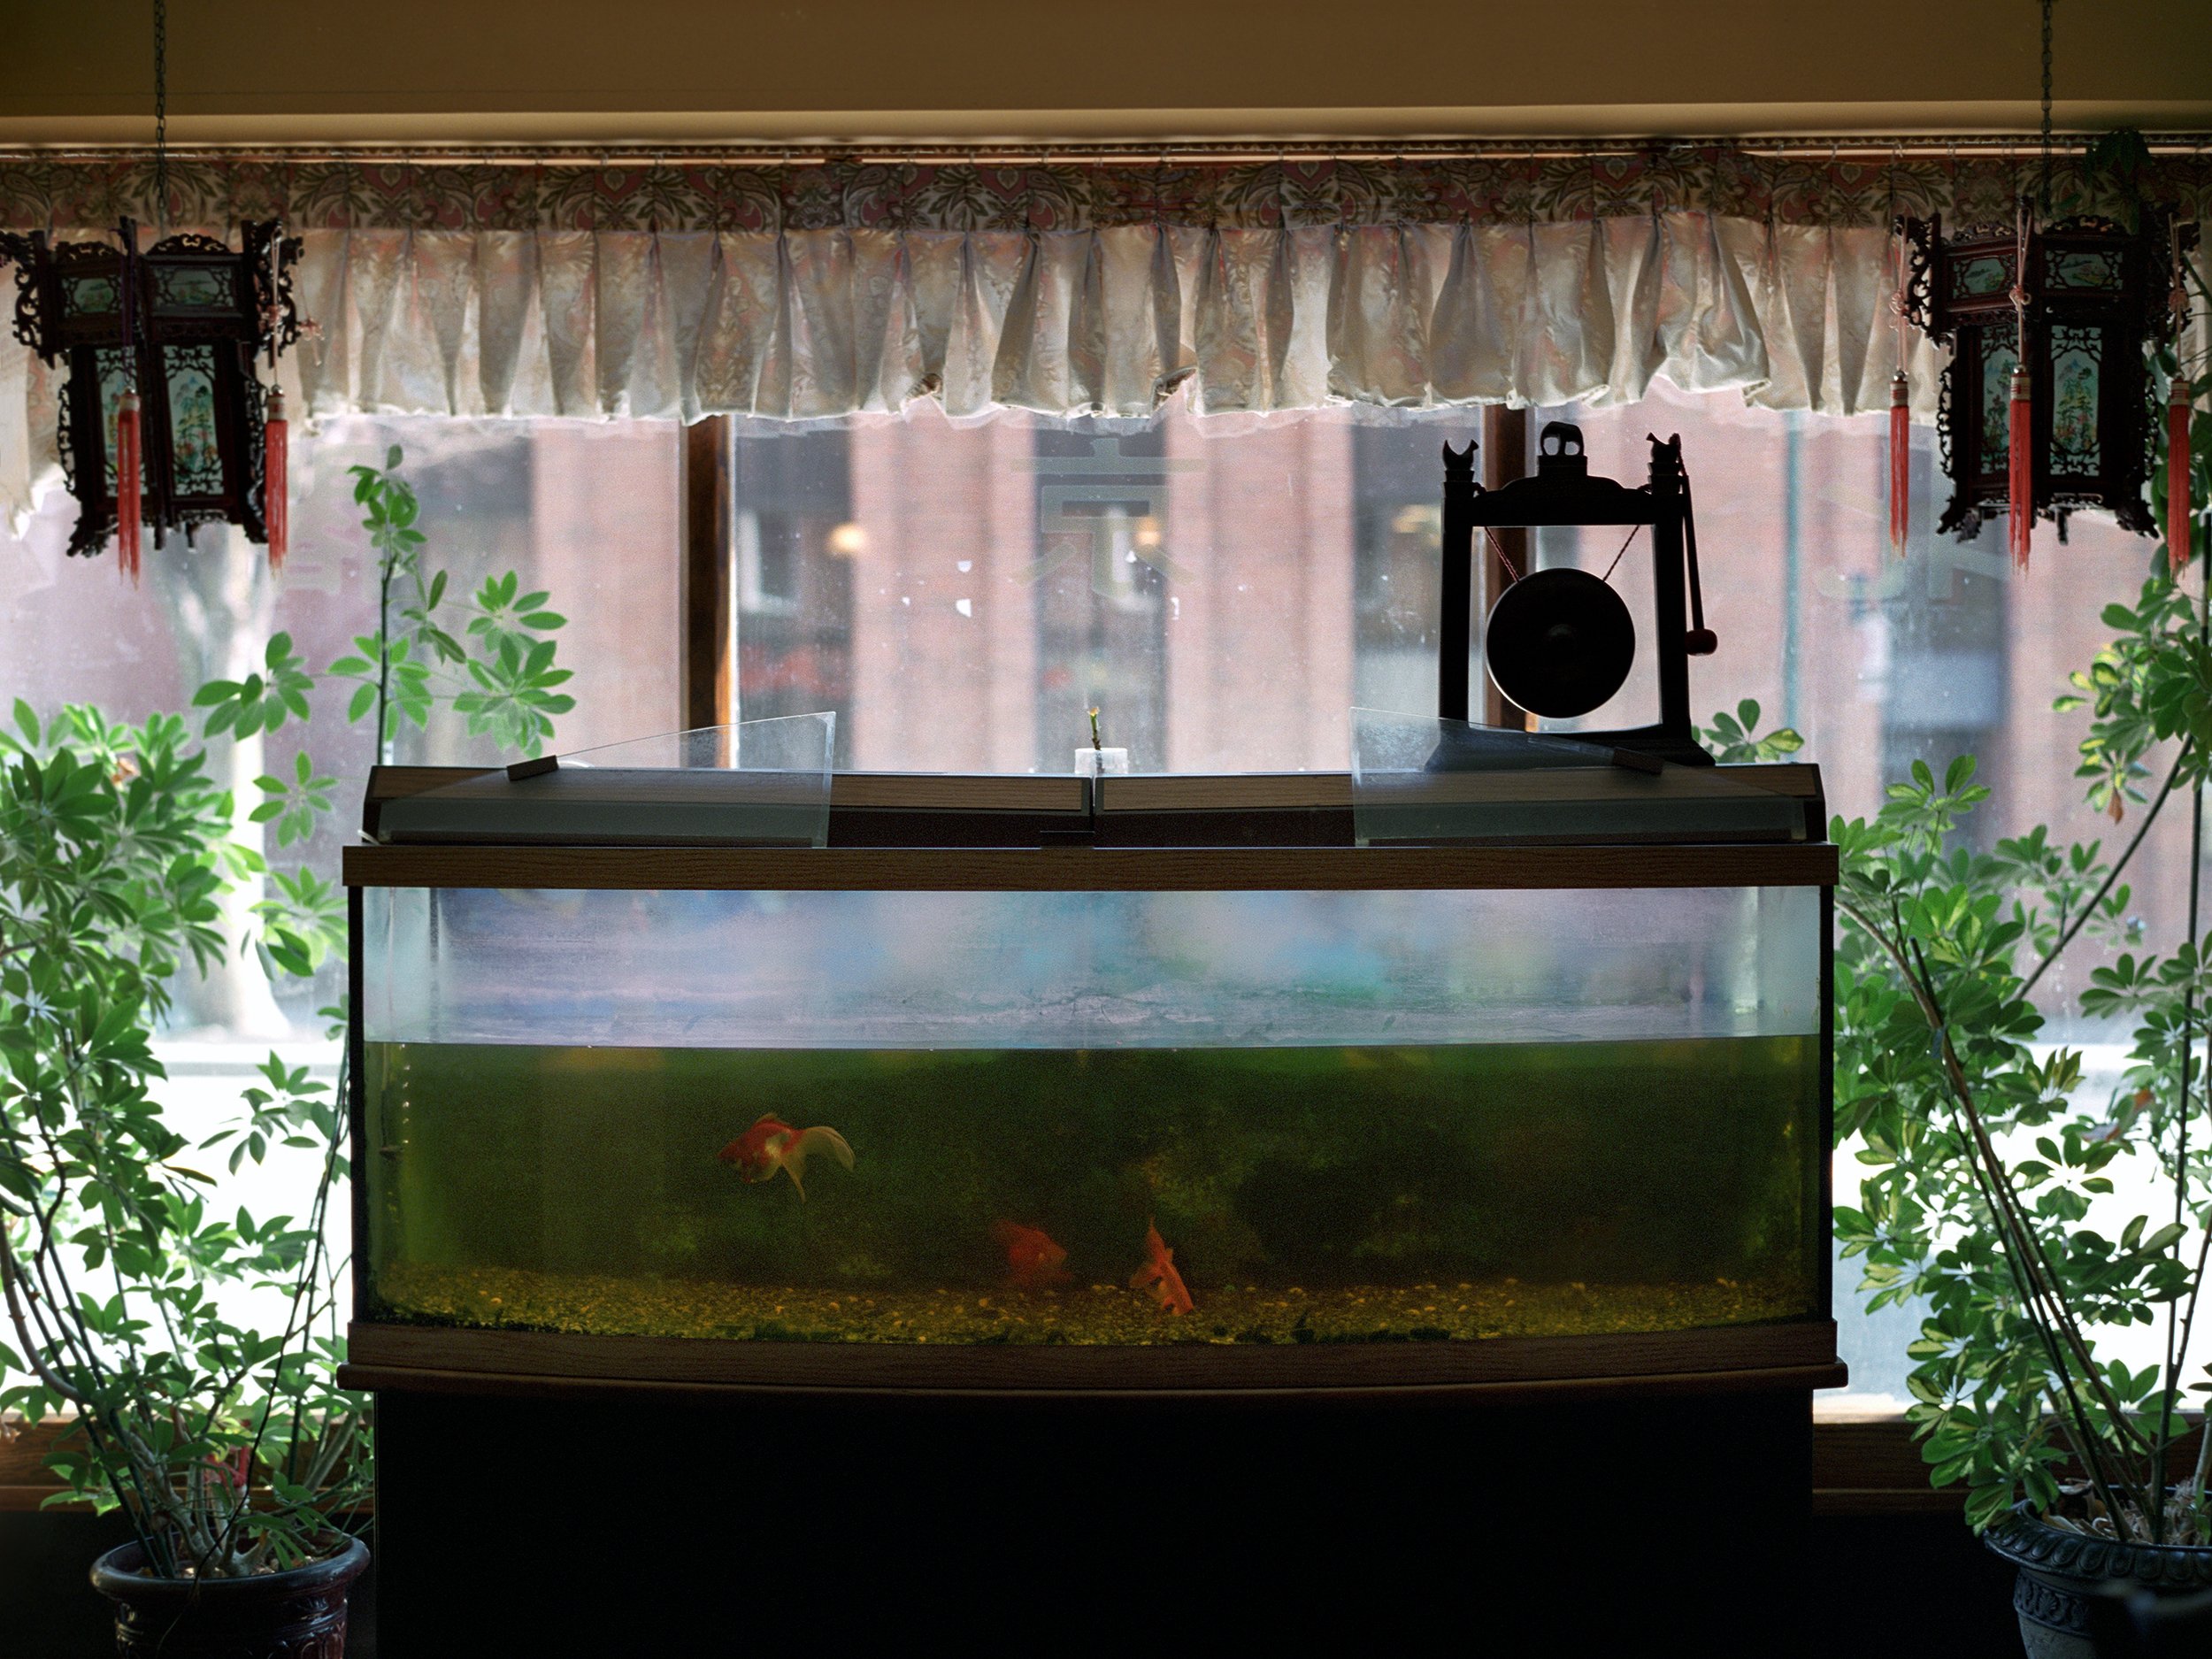
The Arcade at the Beach
Blackpool
Where the Lights Still ShinE
All photographed with CONTAX 645 - Zeiss Distagon T* 55mm ƒ3.5 on Kodak Portra 160 & Kodak TMAX 400
Wedding Morning
All photographed with CONTAX 645 on Kodak TMAX 400
Bride: Charley
The Metalworks
Six frames from my archive, shot in November 2012 on Fuji Neopan 400 with a Hasselblad 500 c/m and rescanned with a Nikon Coolscan 8000ED. The last time I scanned these was with an Epson V500 so it’s great to see the improved details that the Coolscan extracted this time around. With black & white negatives in my view there is no need to use scanning software, I simply scan negatives as a positive with all controls off and invert in Photoshop, finding black point, white point and adjusting mid tone to suite. I have been scanning and preparing my black & white images this way for many years and there is for me, no scanning software that beats this method.
All photographed with Hasselblad 500c/m on Fuji Neopan 400
Thanks to: R&G Metal Products
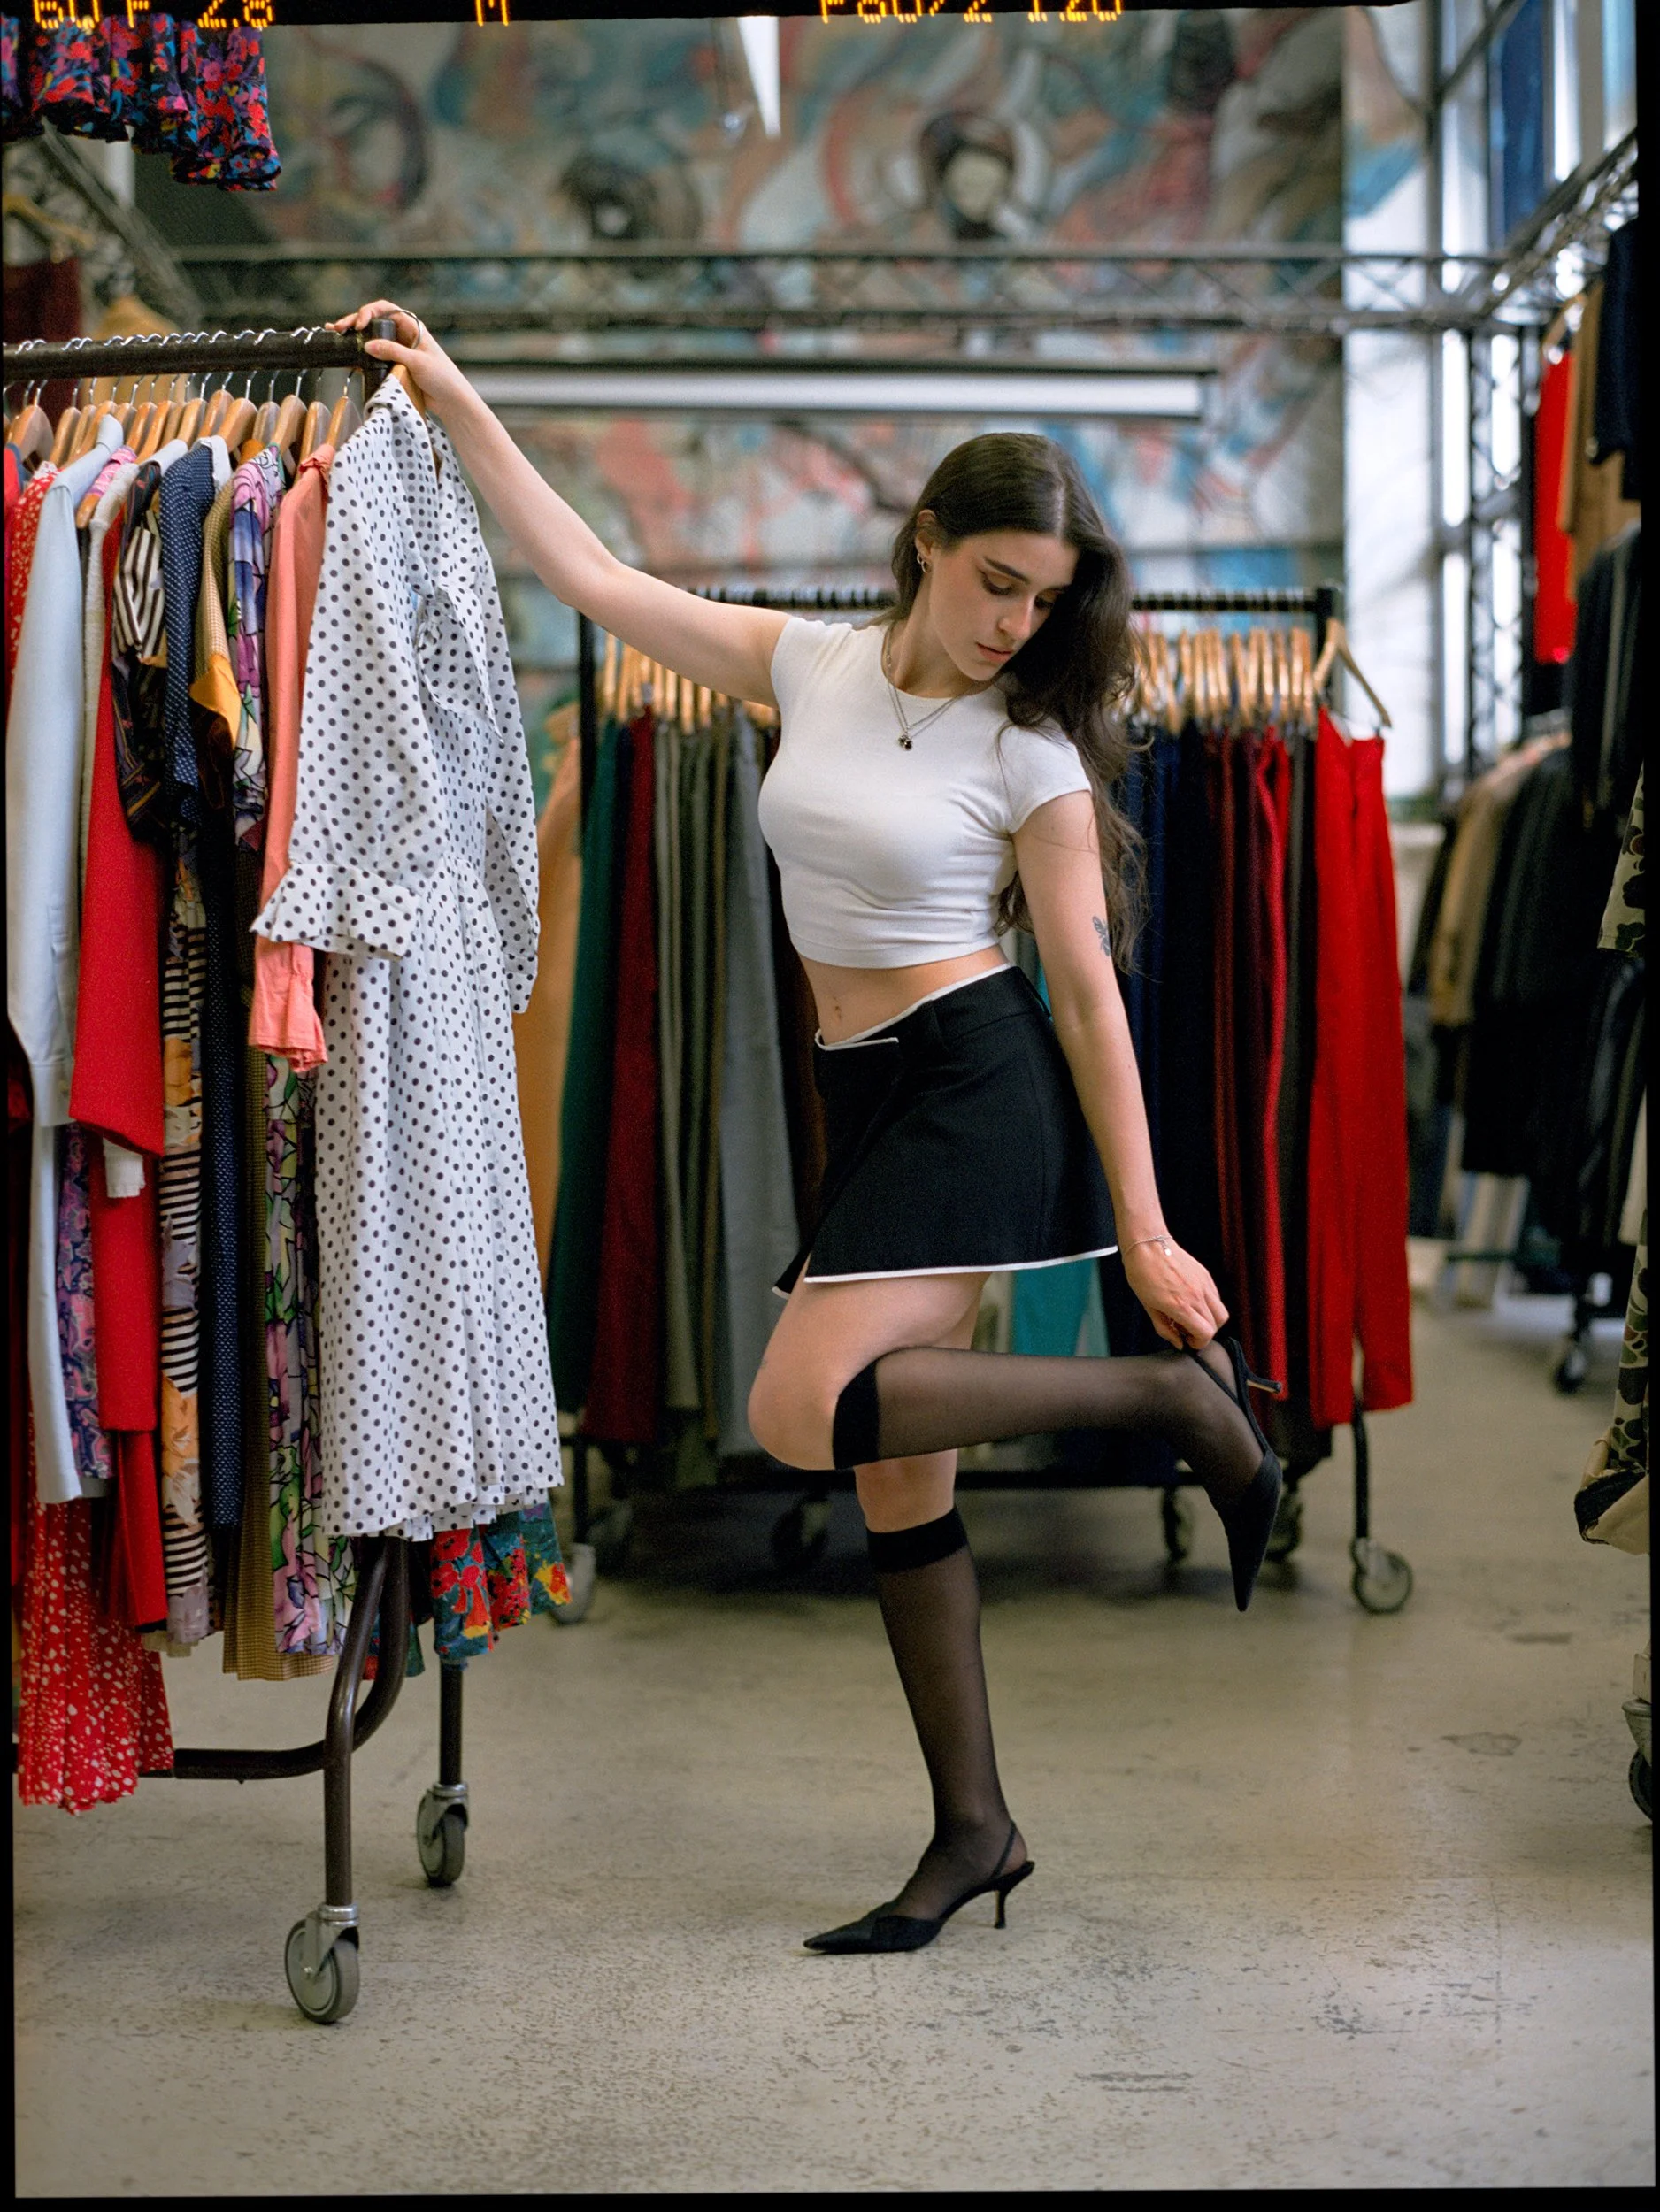
The Vintage Shop East London
The North of the South
Shooting the Zeiss Distagon T* 55mm ƒ3.5
Read MorePavilion
Aberdeengrad
SHOOTING IN THE GRANITE CITY
Recently, I spent a Sunday afternoon wandering the streets of Scotland's third city, Aberdeen. The overcast skies, light drizzle, and fading light led me to choose a roll of black and white film, hoping to capture the city's mood in the brief time I had. While exploring an old disused health centre, I unexpectedly met another film photographer. We paused for a conversation, naturally sharing what we each enjoy photographing. I mentioned my interest in brutalist and 1960s architecture, of which there is a fair amount in Aberdeen.
During the conversation, he told me that the recent film Tetris set in the 1980s Soviet Union had in fact been partly shot in Aberdeen. I could imagine that with the removal of the local street signs and a sprinkling of parked Lada’s and GAZ’s parts of the Granite City could well perform as an excellent Cold War Moscow stand in.
Apparently the films director Jon S Baird, who is originally from Aberdeen, felt the area would be the perfect stand-in for Moscow in 1989 and the film's star Taron Egerton said Scotland having "greyness in abundance" was the ideal substitute for Moscow. For sure, I certainly want to see the film now, but for the time being I will make do with my shots of Aberdeengrad!
All photographed with CONTAX 645 on Kodak TMAX 400
Portrait shoot using Kodak Vision 3 250D
Rescanned for the first time with the Nikon Coolscan 8000ED these portraits were shot using Kodak Vision 3 250D. Photographing on a cold but bright and sunny winter morning the light was strong, so using the beautiful Victorian structures of Hampstead's Hill Gardens Pergola to shield Juliette worked perfectly. The film handled the colours, light and shade that day sublimely. Then of course, there’s that Hollywood feeling that I always get when shooting Vision 3. It is after all, the film that films are made from!
As previously I hand developed the film, but this time rather than cross-processing in C41 as I had done before, I used Flic Film’s ECN-2 kit which includes a remjet removing pre-bath as well as all the other stages. This is a great product with the only issue being its short shelf life of only four weeks once mixed. If I were to use it again I would certainly bank up several rolls so that I could take full advantage of the kits lifespan.
Portraits taken with CONTAX S2 with Zeiss Planar 50mm ƒ1.4 and Zeiss Planar 85mm ƒ1.4 on Kodak Vision 3 250D
Model : Juliette Koch
Poolside
The Eastern Panhandle
A day in West Virginia
Recently while on a job in Washington, D.C. I had a rare free day from work. I decided to hire a car and use the time to get out of the city and off the beaten track with my camera. Leaving early on a Sunday morning I headed through Maryland toward the Eastern Panhandle of West Virginia. Less than 100 miles from the capital it was both far enough to see what I hoped to be a slice of the 'real' America and close enough so that I didn't spend hours driving on Interstates.
I was very lucky; it was a beautiful spring day with crisp light and sharp shadows. But what was best, was that universal photographic feel-good feeling of being somewhere undiscovered, somewhere different. I’ve always pushed myself to photograph in my local environment and believe me, the home counties surrounding London are not exactly dripping with photographic opportunity. For me, it has inevitably become a sort of creative and mental exercise in seeing. I’ve always felt that ‘if I could shoot here, I can shoot anywhere’. Certainly, over the years as I have picked off all the close low-hanging photographic fruit, it has become more and more a challenge, but one that is still worth doing if only because it serves to amplify my excitement when I am somewhere new.
As a starting point I made my way to Martinsburg the largest city in the region and from there explored Shepherdstown, Charles Town and other areas in Berkeley and Jefferson Counties. Wandering around with a big camera around my neck caught the attention of one or two people, enough to start a conversation, the usual sort of thing ‘What are you doing?’ and ‘Where are you from?’ Happy to have a guest in their town, if a little puzzled over my desire to shoot, as they possibly saw it, in such ordinary everyday place.
I spent the day exploring street corners and roadscapes, searching for my own slice of Americana and by late afternoon the spring light finally turned slightly golden then dusky dark so, after shooting several rolls of film, I stopped for a waffle at the iconic Waffle House before the drive back to Washington with a sense of satisfaction over my small but perfect American road trip.
All photographed with CONTAX 645 on Kodak TMAX 400 & Fuji Pro 400H
Alone in Cologne
Last week I was in Cologne for work, each day was busy with my only free time, the night. Usually, I like to walk the city, looking, seeing and all that stuff. But, with long days and freezing -5º C nights I used the Köln Stadtbahn. A sort of metro-underground-tram light railway system that covers the whole city. It gave me both a subject and the opportunity to shoot alone in Cologne regardless of the winter cold and my fatigue.
All photographed with CONTAX RTS III & Kodak Portra 400
The Boat Yard
Ratcliffe-on-Soar, Nottinghamshire.
In the shadow of several huge cooling towers you can find a boat yard. Spread out over fields, scattered wide and packed close, boats propped on stands in various states of repair share the river and landscape with the UK's last remaining coal fired power station. Sitting together in a sort of strange but beautiful company. Both boats and chimneys coexist in an unlikely visual harmony jointly occupying the same space, if only for a short while longer.
The soon-to-be decommissioned power station is on borrowed time, closing its doors within a year. Its imposing towers are due to be detonated in a spectacular 'blow-down' event, the boats will soon lose their towering industrial companions.
All photographed with CONTAX 645 on Kodak Portra 160 & Kodak TMAX 400
Wide Open
A small selection of portraits from last year all shot wide open at ƒ2. Each for me, demonstrating that magical depth of field that the legendary Zeiss Planar T* 80mm. ƒ2 is rightly famous for.
All shot with CONTAX 645 and Zeiss Planet T* 80mm at ƒ2 on:
Kodak TMAX 100 & 400 and Fuji Pro 400H
Thanks to: Erika, Claire & Natasha
Coventry
Topographic wonderings around a West Midlands city
All photographed with CONTAX 645 on Kodak Portra 160, Kodak TMAX 400 & Fuji Pro 400H
Panorama - Shooting the Hasselblad XPan
Recently I borrowed my friend and fellow photographer Ben Lockett’s precious Hasselblad XPan. This special camera shoots two frames of 35mm to expose a wide panoramic 65 x 24mm frame. The XPan uses three interchangeable compact lenses, I had the 45mm, the large image circle of these specially designed lenses are perfect for creating super wide cinematic looking images with a visual aesthetic that works for cityscapes, landscapes and other wide-angle compositions. I have to say it took a bit of getting used to, seeing the world thought a slither in the rangefinder’s window was indeed unusual, but using this unique camera for one day I sort felt like the director of my own feature film.
All shot on Fuji Superia 800 with Hasselblad XPan
Le porte di San Lorenzo
I just love it when I stumble on something that in my mind’s eye is simply photographic, when I just know and it’s exciting. It’s still for me, the best feeling in photography, finding that subject, light, pose or composition.
A couple of years ago on holiday in Liguria, one evening we went out to eat gelato. From the parked car we cut through some residential buildings toward the town. It was there that I saw the entrance doorways to these apartment blocks. Their light and shape screamed at me to stop and for once I had not only my camera but also my tripod! I promptly sacrificed a couple of scoops of melon and raspberry ice cream with a ‘catch you later’ and unexpected location shoot.
All shot on expired Kodak Portra 160 NC with Hasselblad 500c/m
A decade passed
For me, taking a portrait is often about capturing a moment in time and life. Ten years ago while celebrating Christmas with my family at my fathers home I wandered into his little workshop. This is probably my favourite place in his house everything about this small space is wonderful and full of childhood memories. I had my camera with me that day and I thought what better spot for a portrait. And so I asked my niece Olivia if she would sit still in the subdued light of the workshop while I rested the camera on an old paint can. The resulting portrait has been my header photo on this website ever since. I must like it.
Fast forward a decade to the day we decided to recreate the photo, same date, same place, same camera, same film and of course the same person. Olivia is ten years older, a woman now, at university and loving life. Sometimes portraits not only capture just a moment in time but provide the opportunity to reflect on the passage of time. Such is the beauty of photography.
Eight Years
In my previous post, I mentioned "It has been almost a year since I have written here" well something even longer than that is me using a digital camera for personal photography. I’ve looked back and the last time I did was eight years ago in 2014.
I do own a digital camera which I use for paid work. So recently when I worked with Danielle she specifically asked if I could shoot some digital photos as well as my usual film. She needed them for a job and quick so couldn't wait the two or three weeks it usually takes me to develop, scan and send my film photos. I duly bought along my digital camera and nervously spent the shoot outside my photographic comfort zone hoping I wouldn't blow out my highlights or run out of battery!
I've never liked participating in the endless Digital vs Analogue debate, because for me how a photograph is taken is secondary to what a photo looks like and how it makes you feel. In that regard whether it's a photo taken digitally or with film or for that matter with a polaroid camera or a mobile phone's camera, I don't really care. I'm mostly interested in what I see and if I like it. All those conversations about cost, convenience and how analogue photographers think they are so cool for shooting film or how digital photography is soulless are boring to me.
Of course, having said that I am, at my core visually attracted to film photography with its grain, tones and colours and that elusive filmic look. But, for every feature of a photo I like that is shot on film, I also think that a bit like Newton's third law of motion, with a digitally made photo there is an equal and opposite reaction. I love the sharp and accurate look of digital pictures. How dark and light are rendered and I really enjoy some of the dramatic effects of post-production whereby the colours are manipulated expertly by experienced photographers to give their work a signature look and feel. In the end, for me, it's the photo that matters most.
Look, I don't think I'm going to bring my digital camera out with me much in future but this was a nice reminder that there is another way to take photos and when it comes to photography my ‘secondary’ choice of equipment and method is a personal preference based on how I like to shoot and present my work, nothing more.
All shot with Canon EOS 5D and Canon EF 24-105mm ƒ4
Model: Danielle Wood


