Emerging from the dark art of scanning
About a year ago I purchased CF Systems ColorPerfect plug-in, I was looking for an effective scanning workflow that would allow me to skip my scanners bundled software EpsonScan. I covered my thinking in a blog post entitled Perfect Colour here. At that time I had concluded that colour negative scanning was a three stage process consisting of scanning with no adjustments, removal of the orange mask and inversion then finally colour correction. Almost from the off I had my doubts about ColorPerfect and over the months that I used the plug-in my doubts never abated. During that time ColorPerfect regularly inverted negatives with odd colours that needed extensive correction. Using ColorPerfect to make these corrections while entirely possible was with its difficult user interface never going to be a pleasurable experience and so once again I was using Photoshop to make extensive colour corrections. ColorPerfect had become for me, simply an inversion tool and knowing that this is also possible with Photoshop I decided that some experimentation in the hope of simplification and consistency was overdue.
CF Systems ColorPerfect inversion of a linear scan from an Epson V500
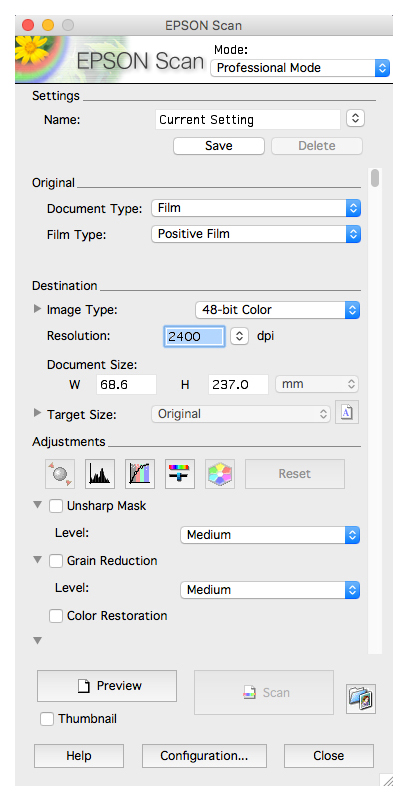
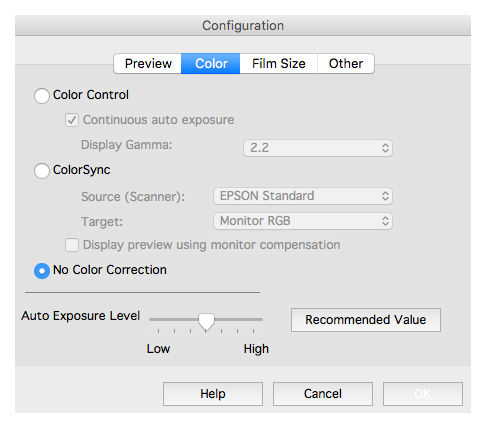
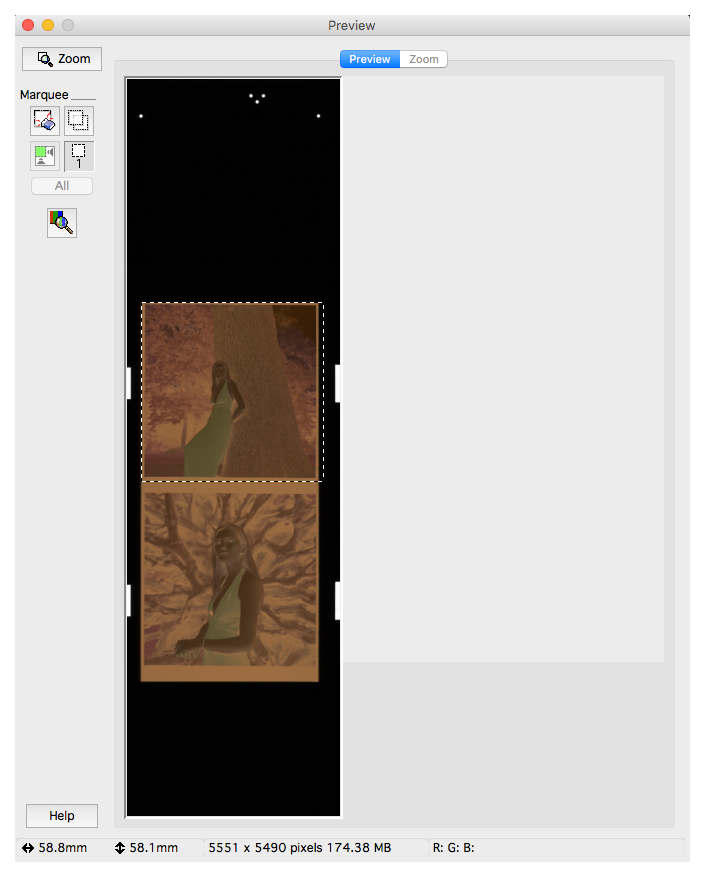
Now after some months of experimentation and testing for the first time since I started scanning over four years ago I've finally arrived at a workflow that is for me, straightforward, consistent and most importantly satisfying. In doing so I wanted to share my experience and method. First task scanning the film with all scanner software controls set to off and include a decent slice of orange mask. This produces a good linear scan of the negative with no automatic adjustments from the scanning software.
• Follow these setting on EpsonScan to make a linear scan
• Opening the linear scan in Photoshop it is first necessary to neutralise the orange mask.
• Begin with a levels layer and sample the orange mask with the white eyedropper tool thus indicating the orange mask as white; it will become black when inverted, as will all the other unexposed areas in the negative.
• After sampling the orange mask with the white eyedropper tool all orange base areas become white and subsequently black when inverted. Note the white areas under the trees that will become the deep shadows.
• Flatten the two layers.
• Invert the file: Image>Adjustments>Invert or cmd + I (ctrl + I on Windows)
• The now positive inversion is muddy and needs correcting
• Before correcting crop the border, this is not absolutely necessary however if you want to keep a border then be aware of it in your histogram during the next steps.
• Create a new levels layer.
• In the dropdown box select the red channel.
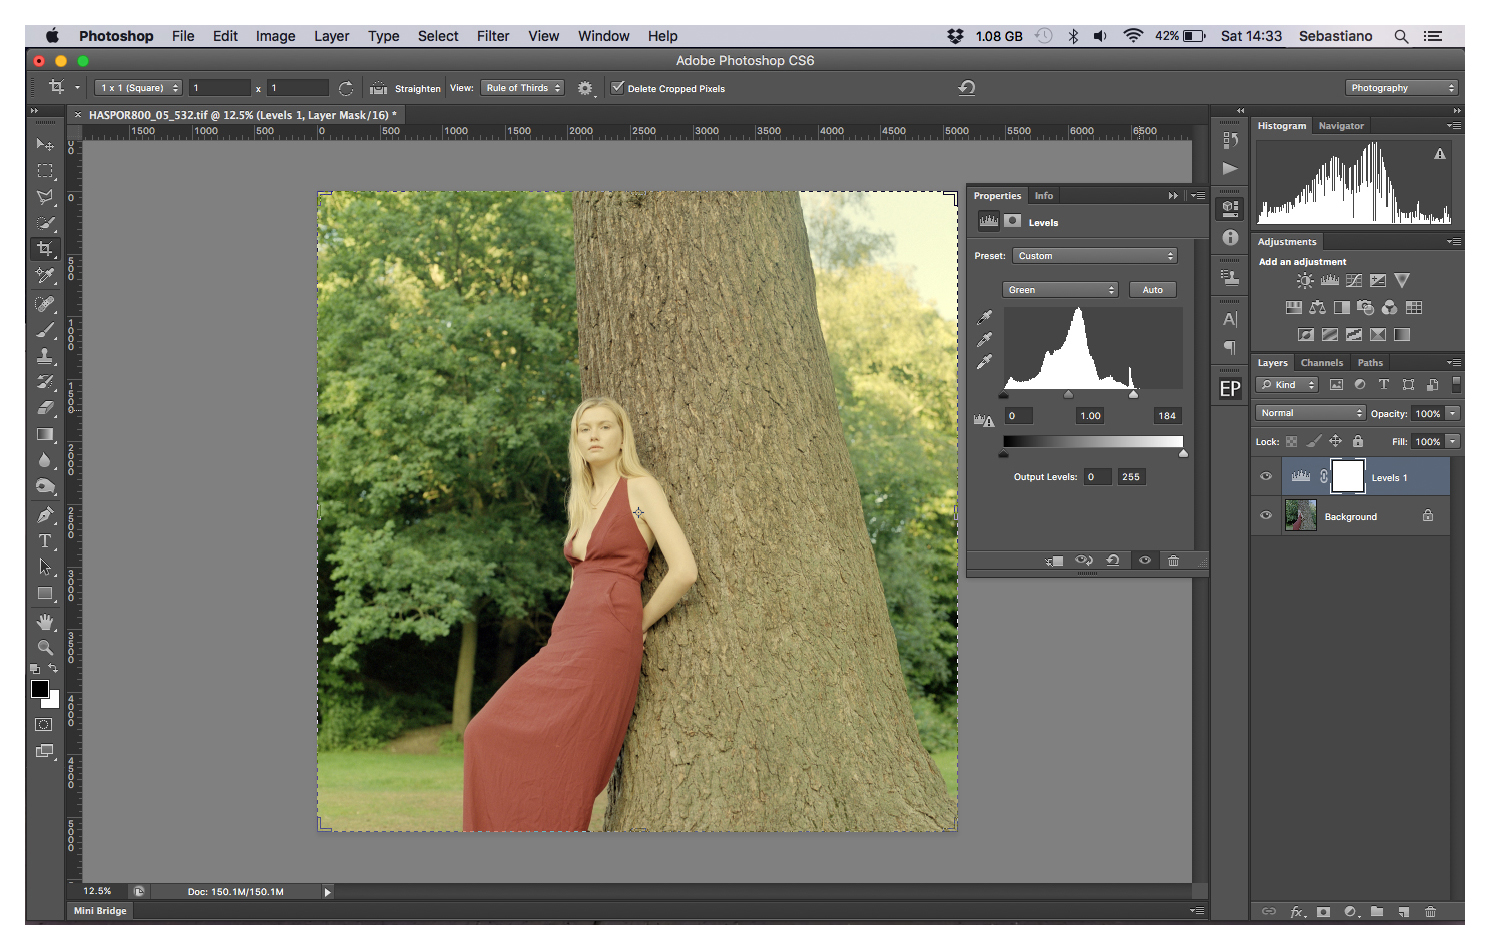
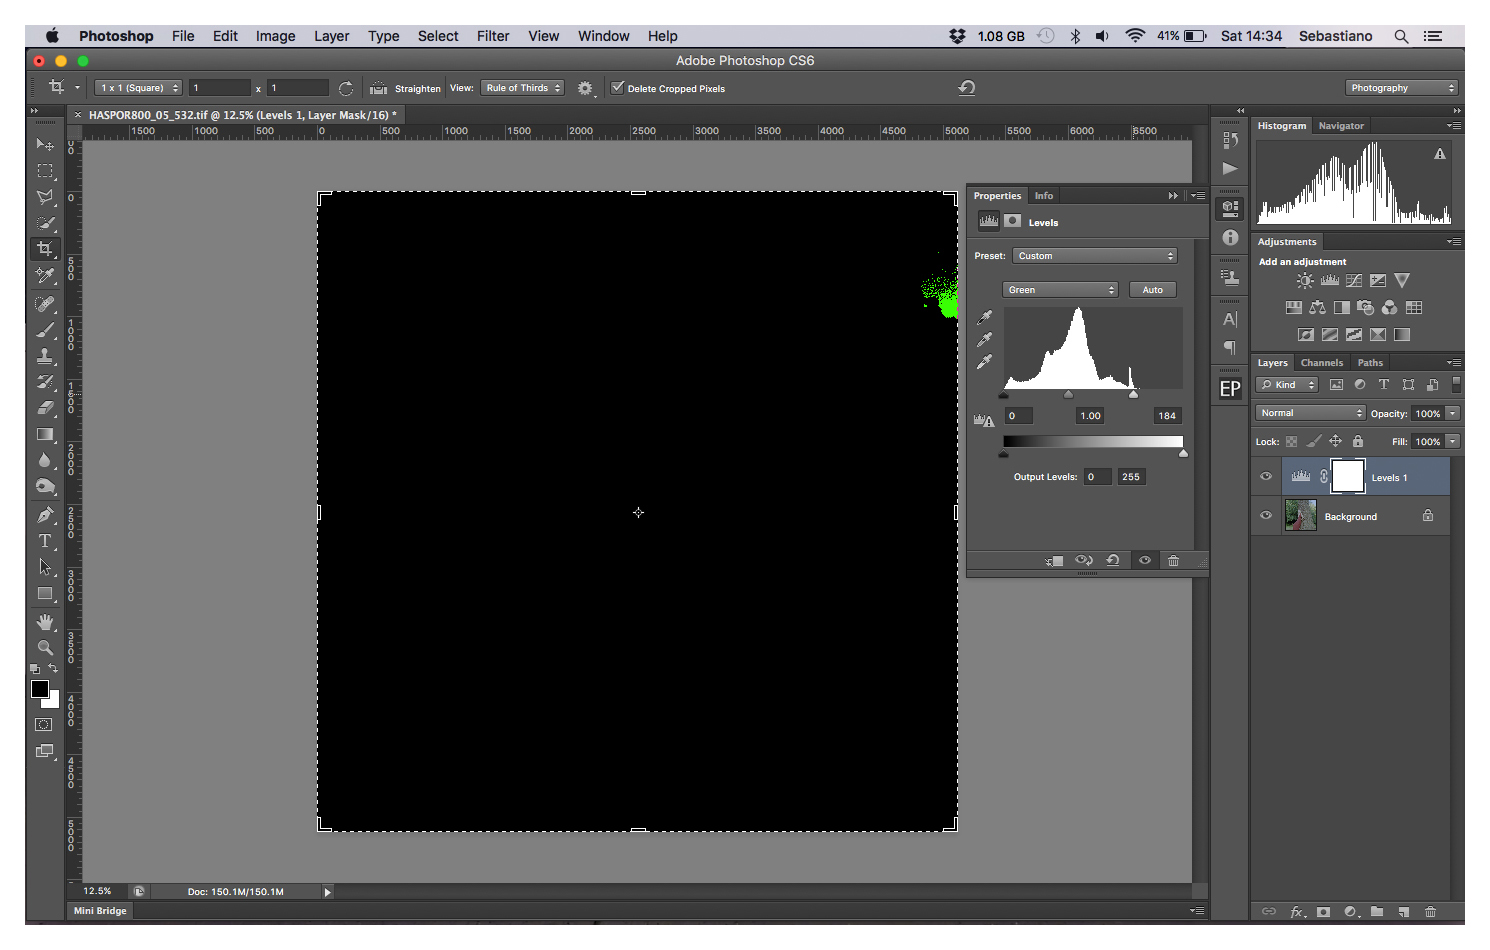
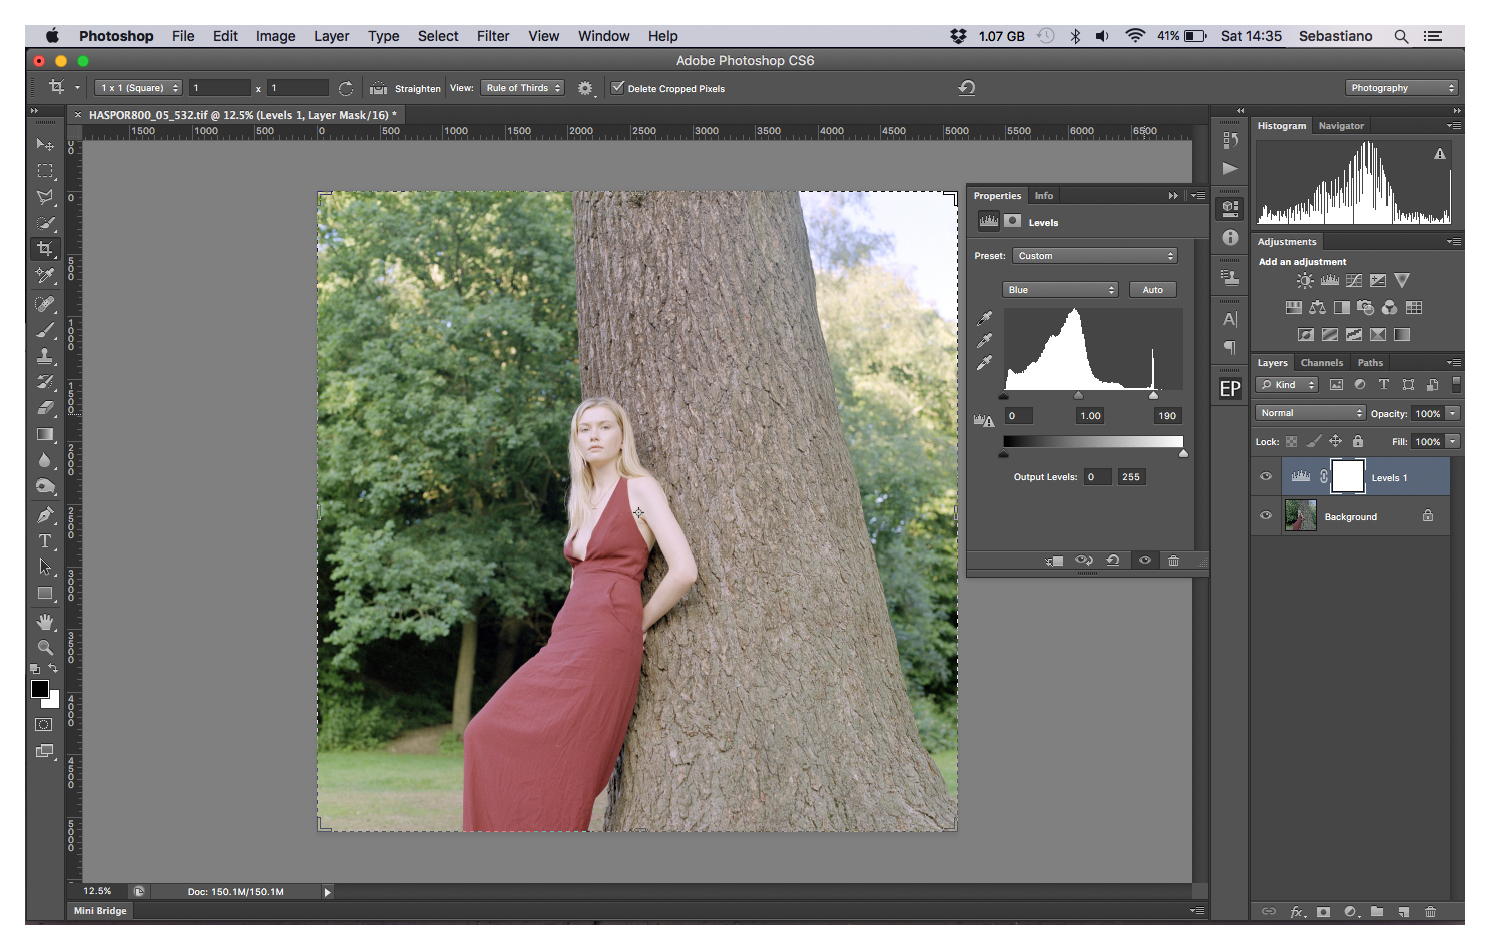
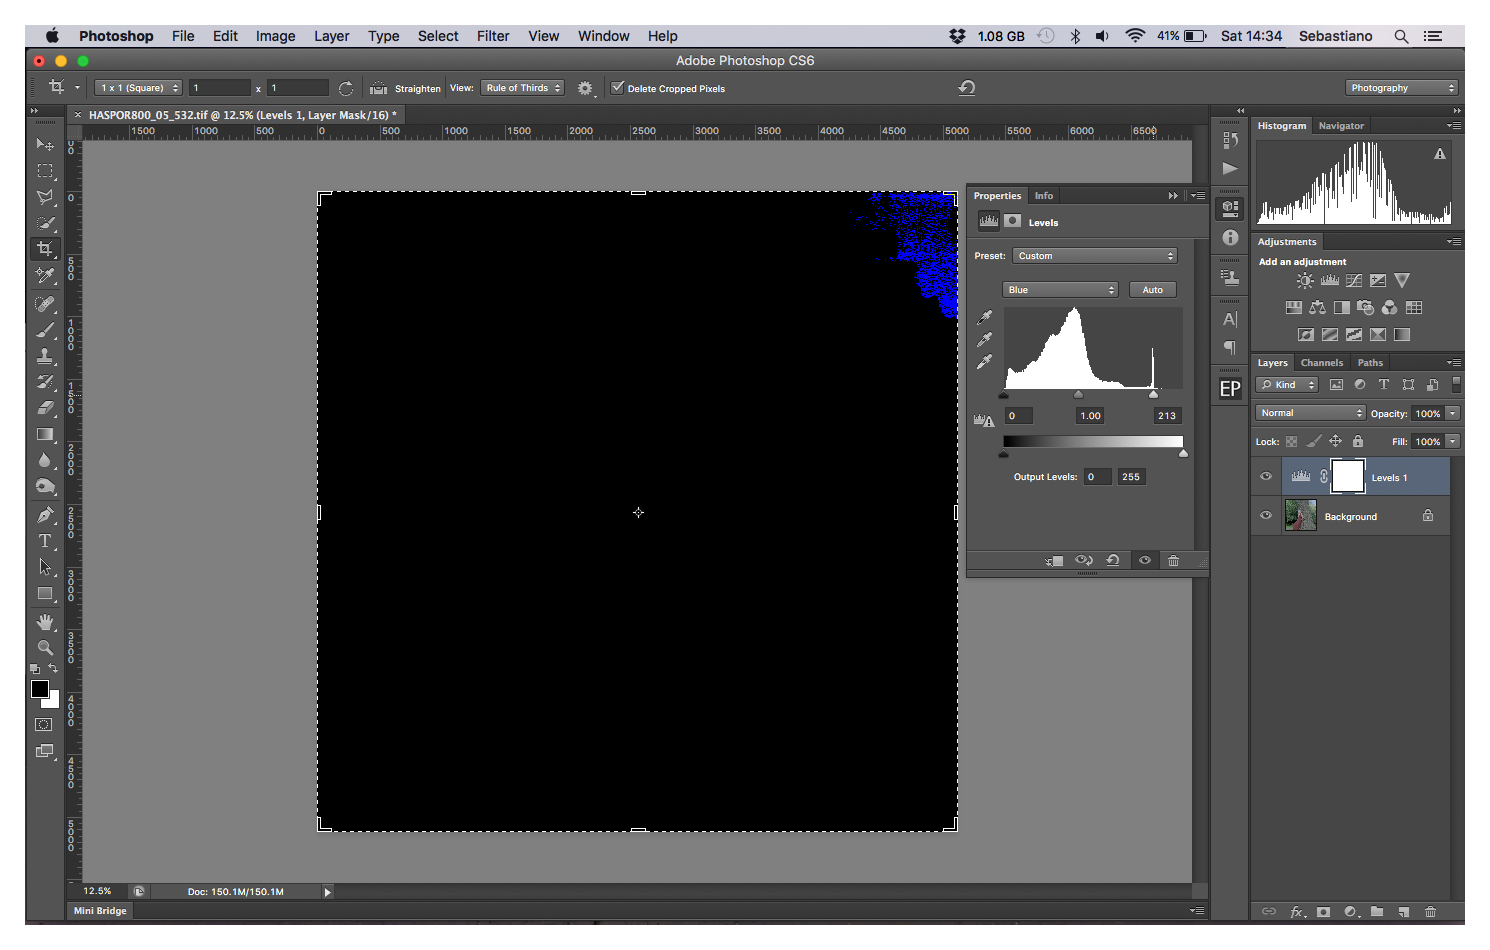
• Start by pulling the small white triangle under the histogram box left so that it aligns with the right edge of the histogram above. If there is a space on the far left of the histogram pull the black triangle toward the right to align it with the left edge of the histogram above.
• To help find the edge of the histogram hold the alt key until red clipping is seen. Repeat the process on green and blue channels.
Initial inverted and colour corrected scan.
This is how I arrive at my starting point, a basic inverted scan ready to post process. Dust and spot removal, sharpening and contrast controls are always necessary, often a mid grey correction and curve adjustment help finish the photo. Obviously I don't for one moment suggest that what and how I scan is the best or only way, it's simply a refection of my experience as a film photographer. As such I'm always interested in other analogue photographers experiences and methods. So please feel free to comment or discuss.
Finished photo, spotted, sharpened with final contrast and colour adjustments.
